Featured News
2D Illustrator to 3D Photoshop
September 22, 2017
You can transfer 2D vector images from Illustrator to Photoshop to make them 3D objects by copying and pasting paths between the programs. There’s more information on a Lynda.com tutorial for 3D objects here, but if you don’t have a subscription to Lynda, you can follow the directions below.
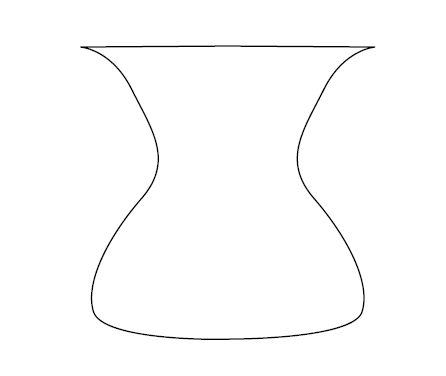
You will start with this:
And end up with this:
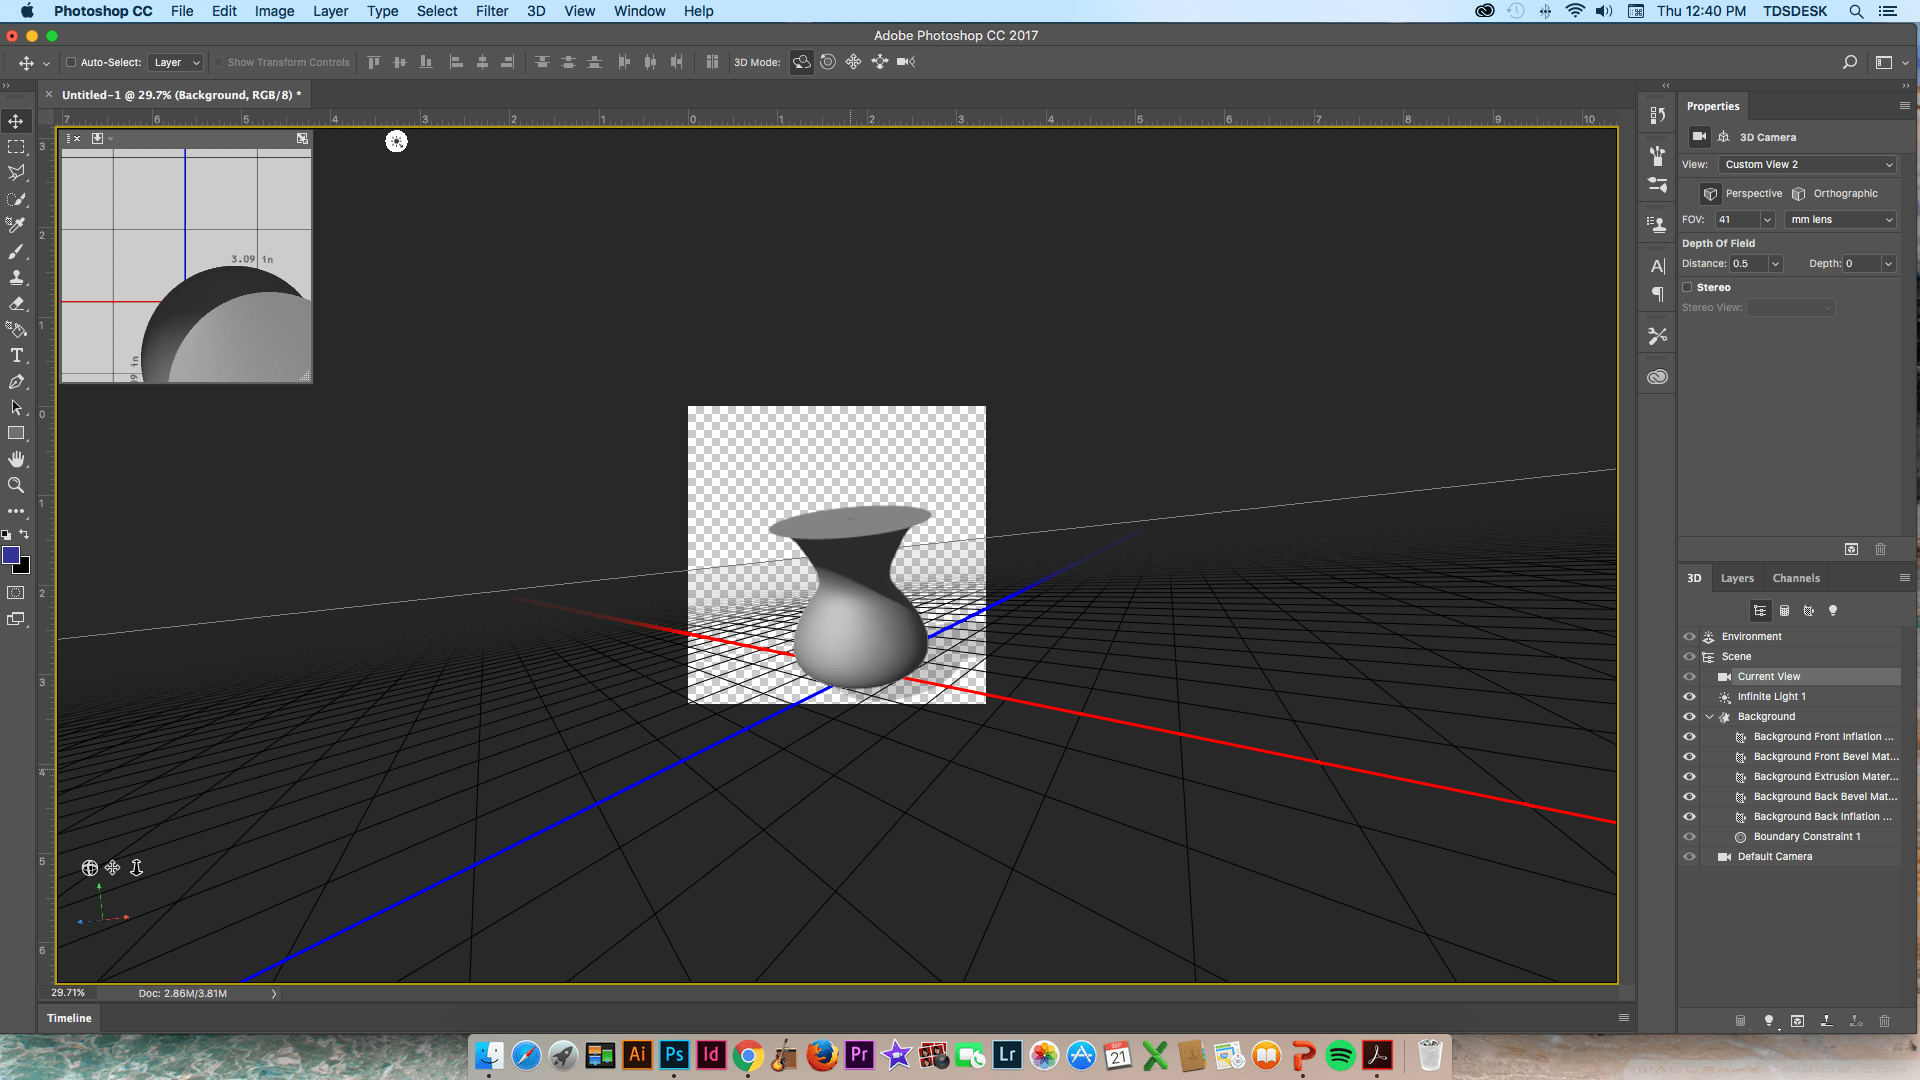
Photoshop 3D object from Illustrator Path
- Open your Illustrator file, select all the points in the path you’d like to use.
- Copy this information (ctrl+c / cmd+c, or using the menu).
- Open a new (blank) Photoshop project and paste this information (ctrl+v / cmd+v, or using the menu).
- There should be a pop-up box when you paste. Choose to paste as a “Path.”
- In Photoshop, open the Paths window and the 3D window, both from the Window menu.
- Go to the 3D window. Choose source “Work path” and choose “3D extrusion.”
- If there is a pop-up box asking you if you want to enter 3D workspace, choose yes/ok.
- You should now have a menu for your 3D object in the 3D window pane:
- Click on “Current View” to change the angle of the camera.
- Click on “Infinite Light” to change the direction of the lighting.
- Click on “Background” (or whatever you named the layer for this object) to manipulate the object.
- When you click on “Background” (the name of the object layer), the Properties window will show options. Click on the second small icon from the left on the Properties menu – deform.
- Click on the sliders on the deform menu to adjust the depth and shape of the object.
- Try setting extrusion depth to 0 and then rotating + or – 270 degrees on the “Vertical Axis” slider – this should make your vector drawing flat (2D) and then rotate it around a center axis to create a fully formed 3D object.
Ask a Librarian
Do you have questions about our recent news or upcoming events? Let us know.
Learn How