Using Motion Graphics in Adobe After Effects
Motion graphics and visual effects can take a great piece of video in your project and make it stand out to tell a better story. In Adobe After Effects, the possibilities for editing brilliant pieces are limitless. Using After Effects and your creativity, you could be well on your way to getting your foot in the door at a major production network. At first glance, the panels in After Effects can seem intimidating because there are so many. With practice and consistency you will see how easy it is to understand the workflow and what you want to accomplish for each graphic.
Getting set up in After Effects
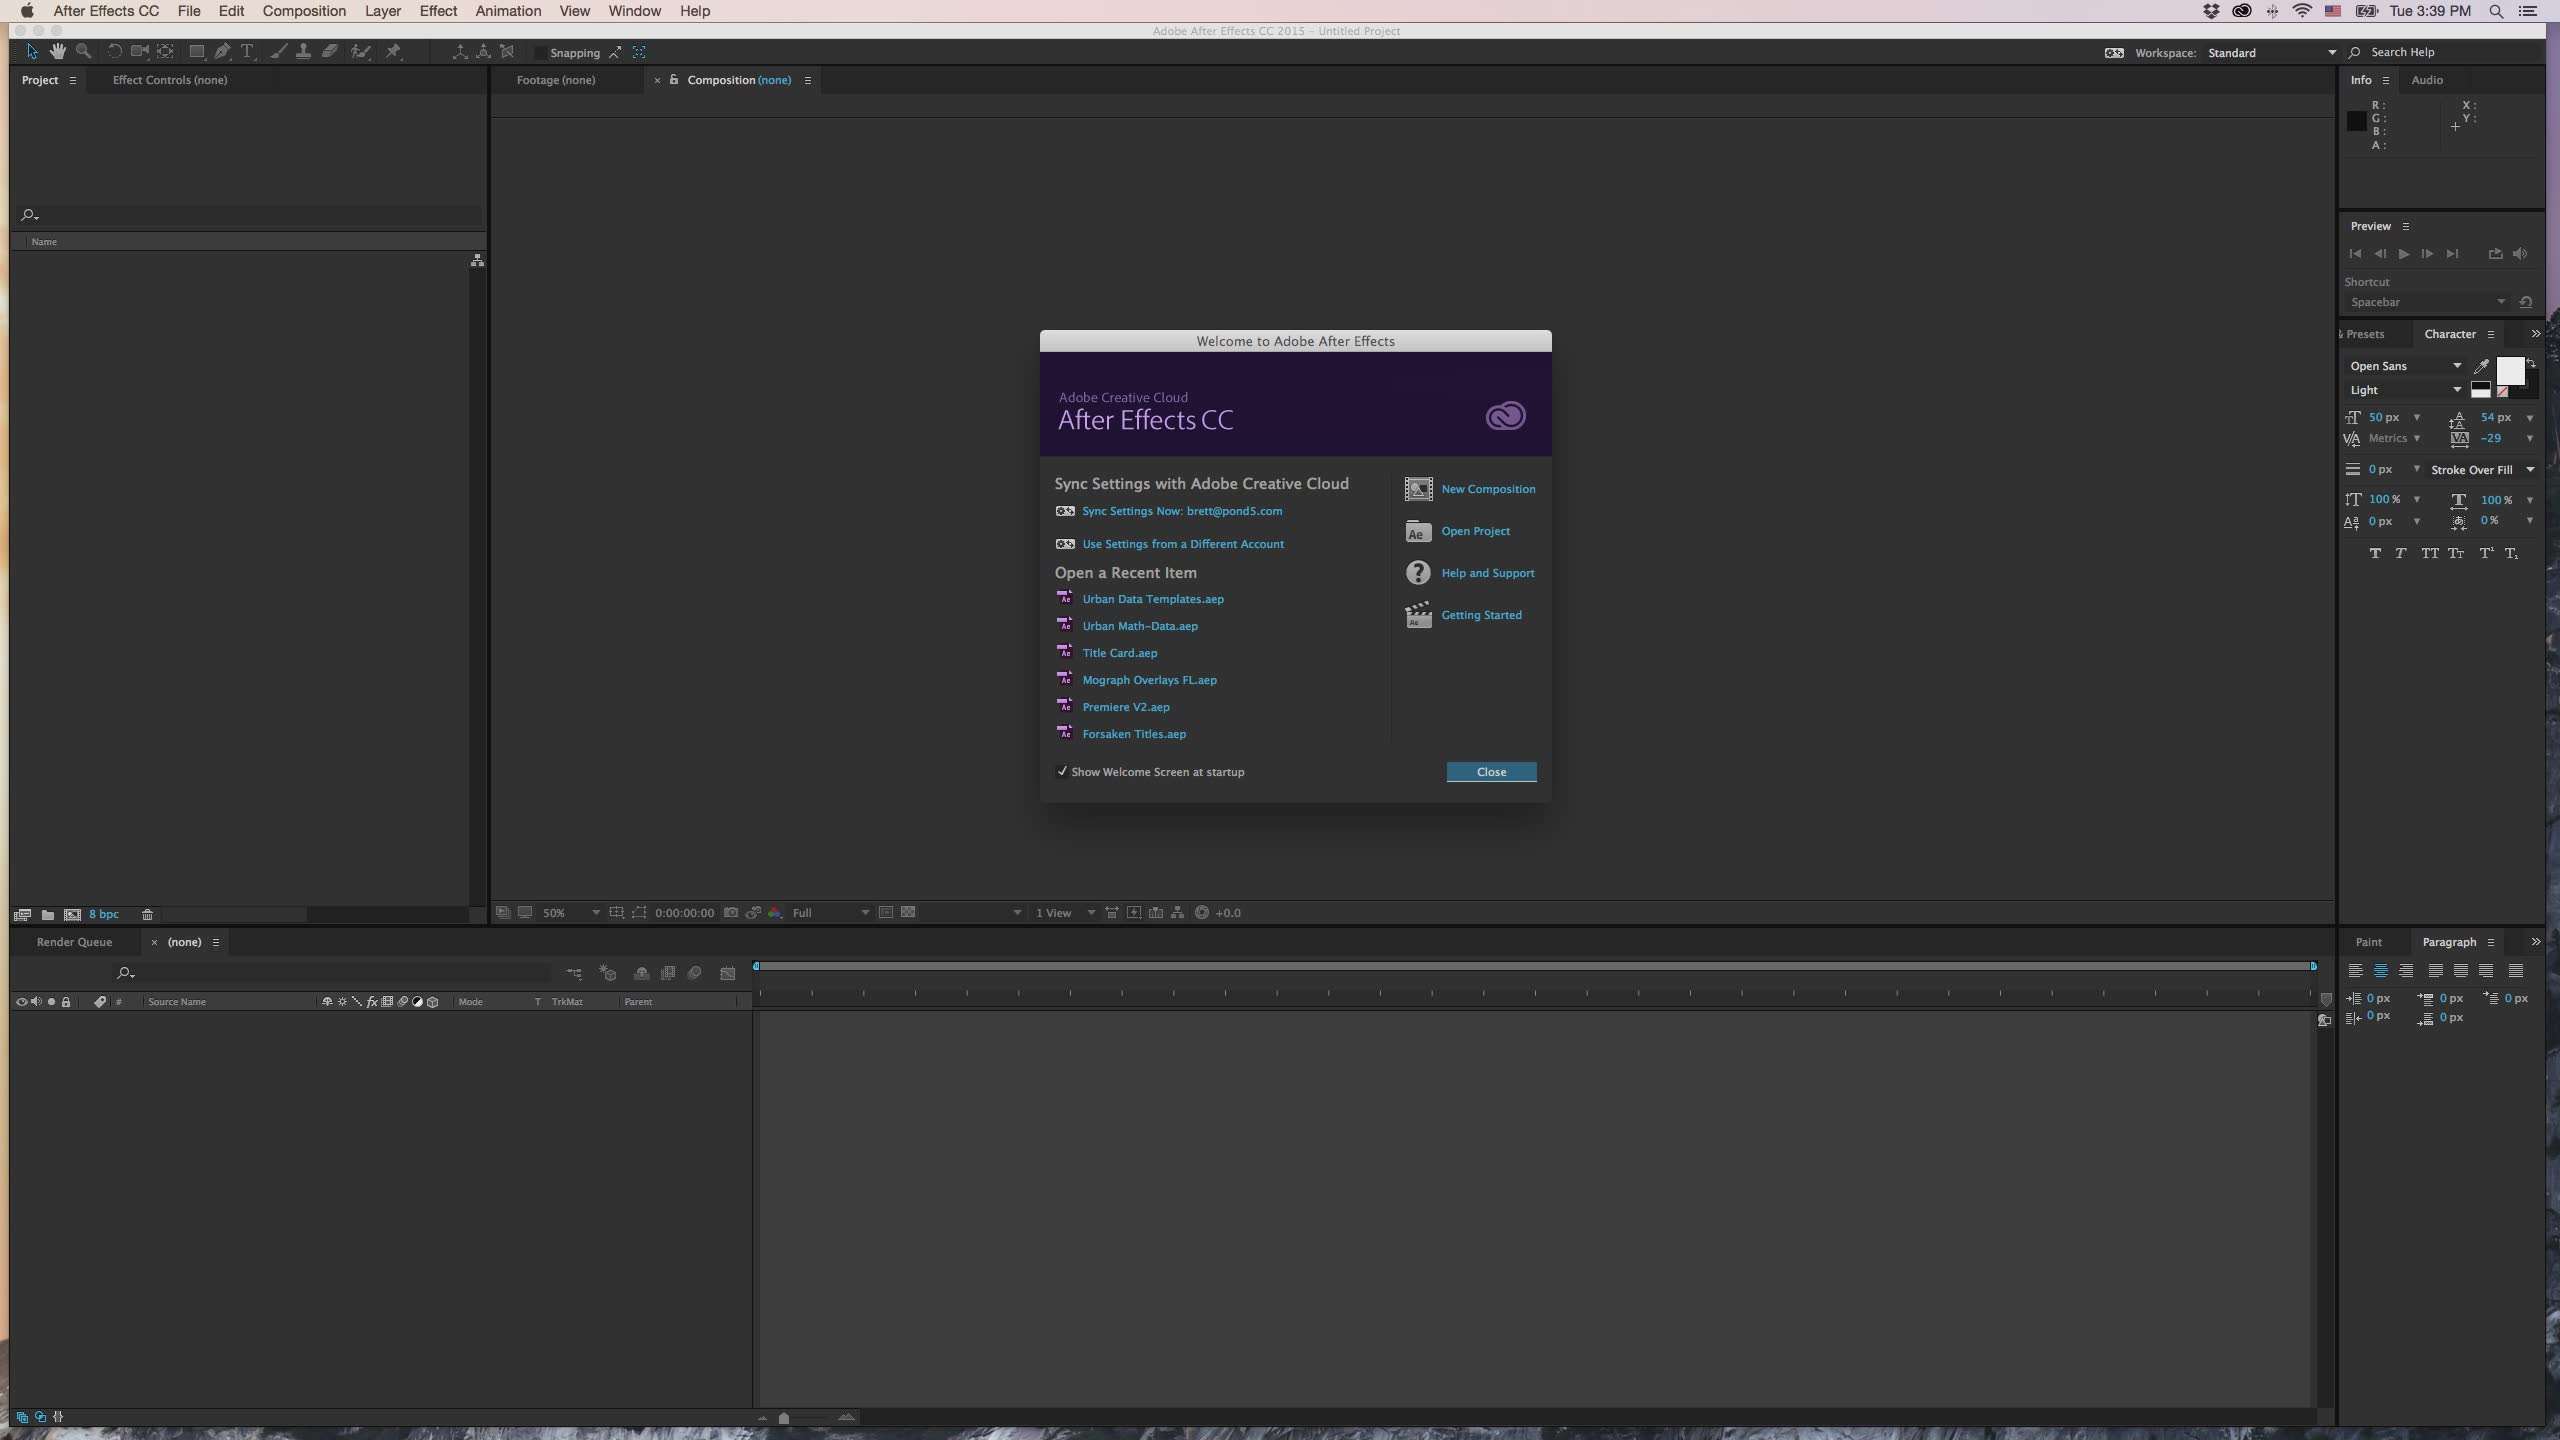
The picture above demonstrates what your screen should look like when you first open After Effects. Start by creating a new composition. For now, just use the default settings presented by the pop-up window. Click “New Composition” on the upper right area of this window. You’ll be given the option of choosing your composition settings in the next window.
Workspace Organization
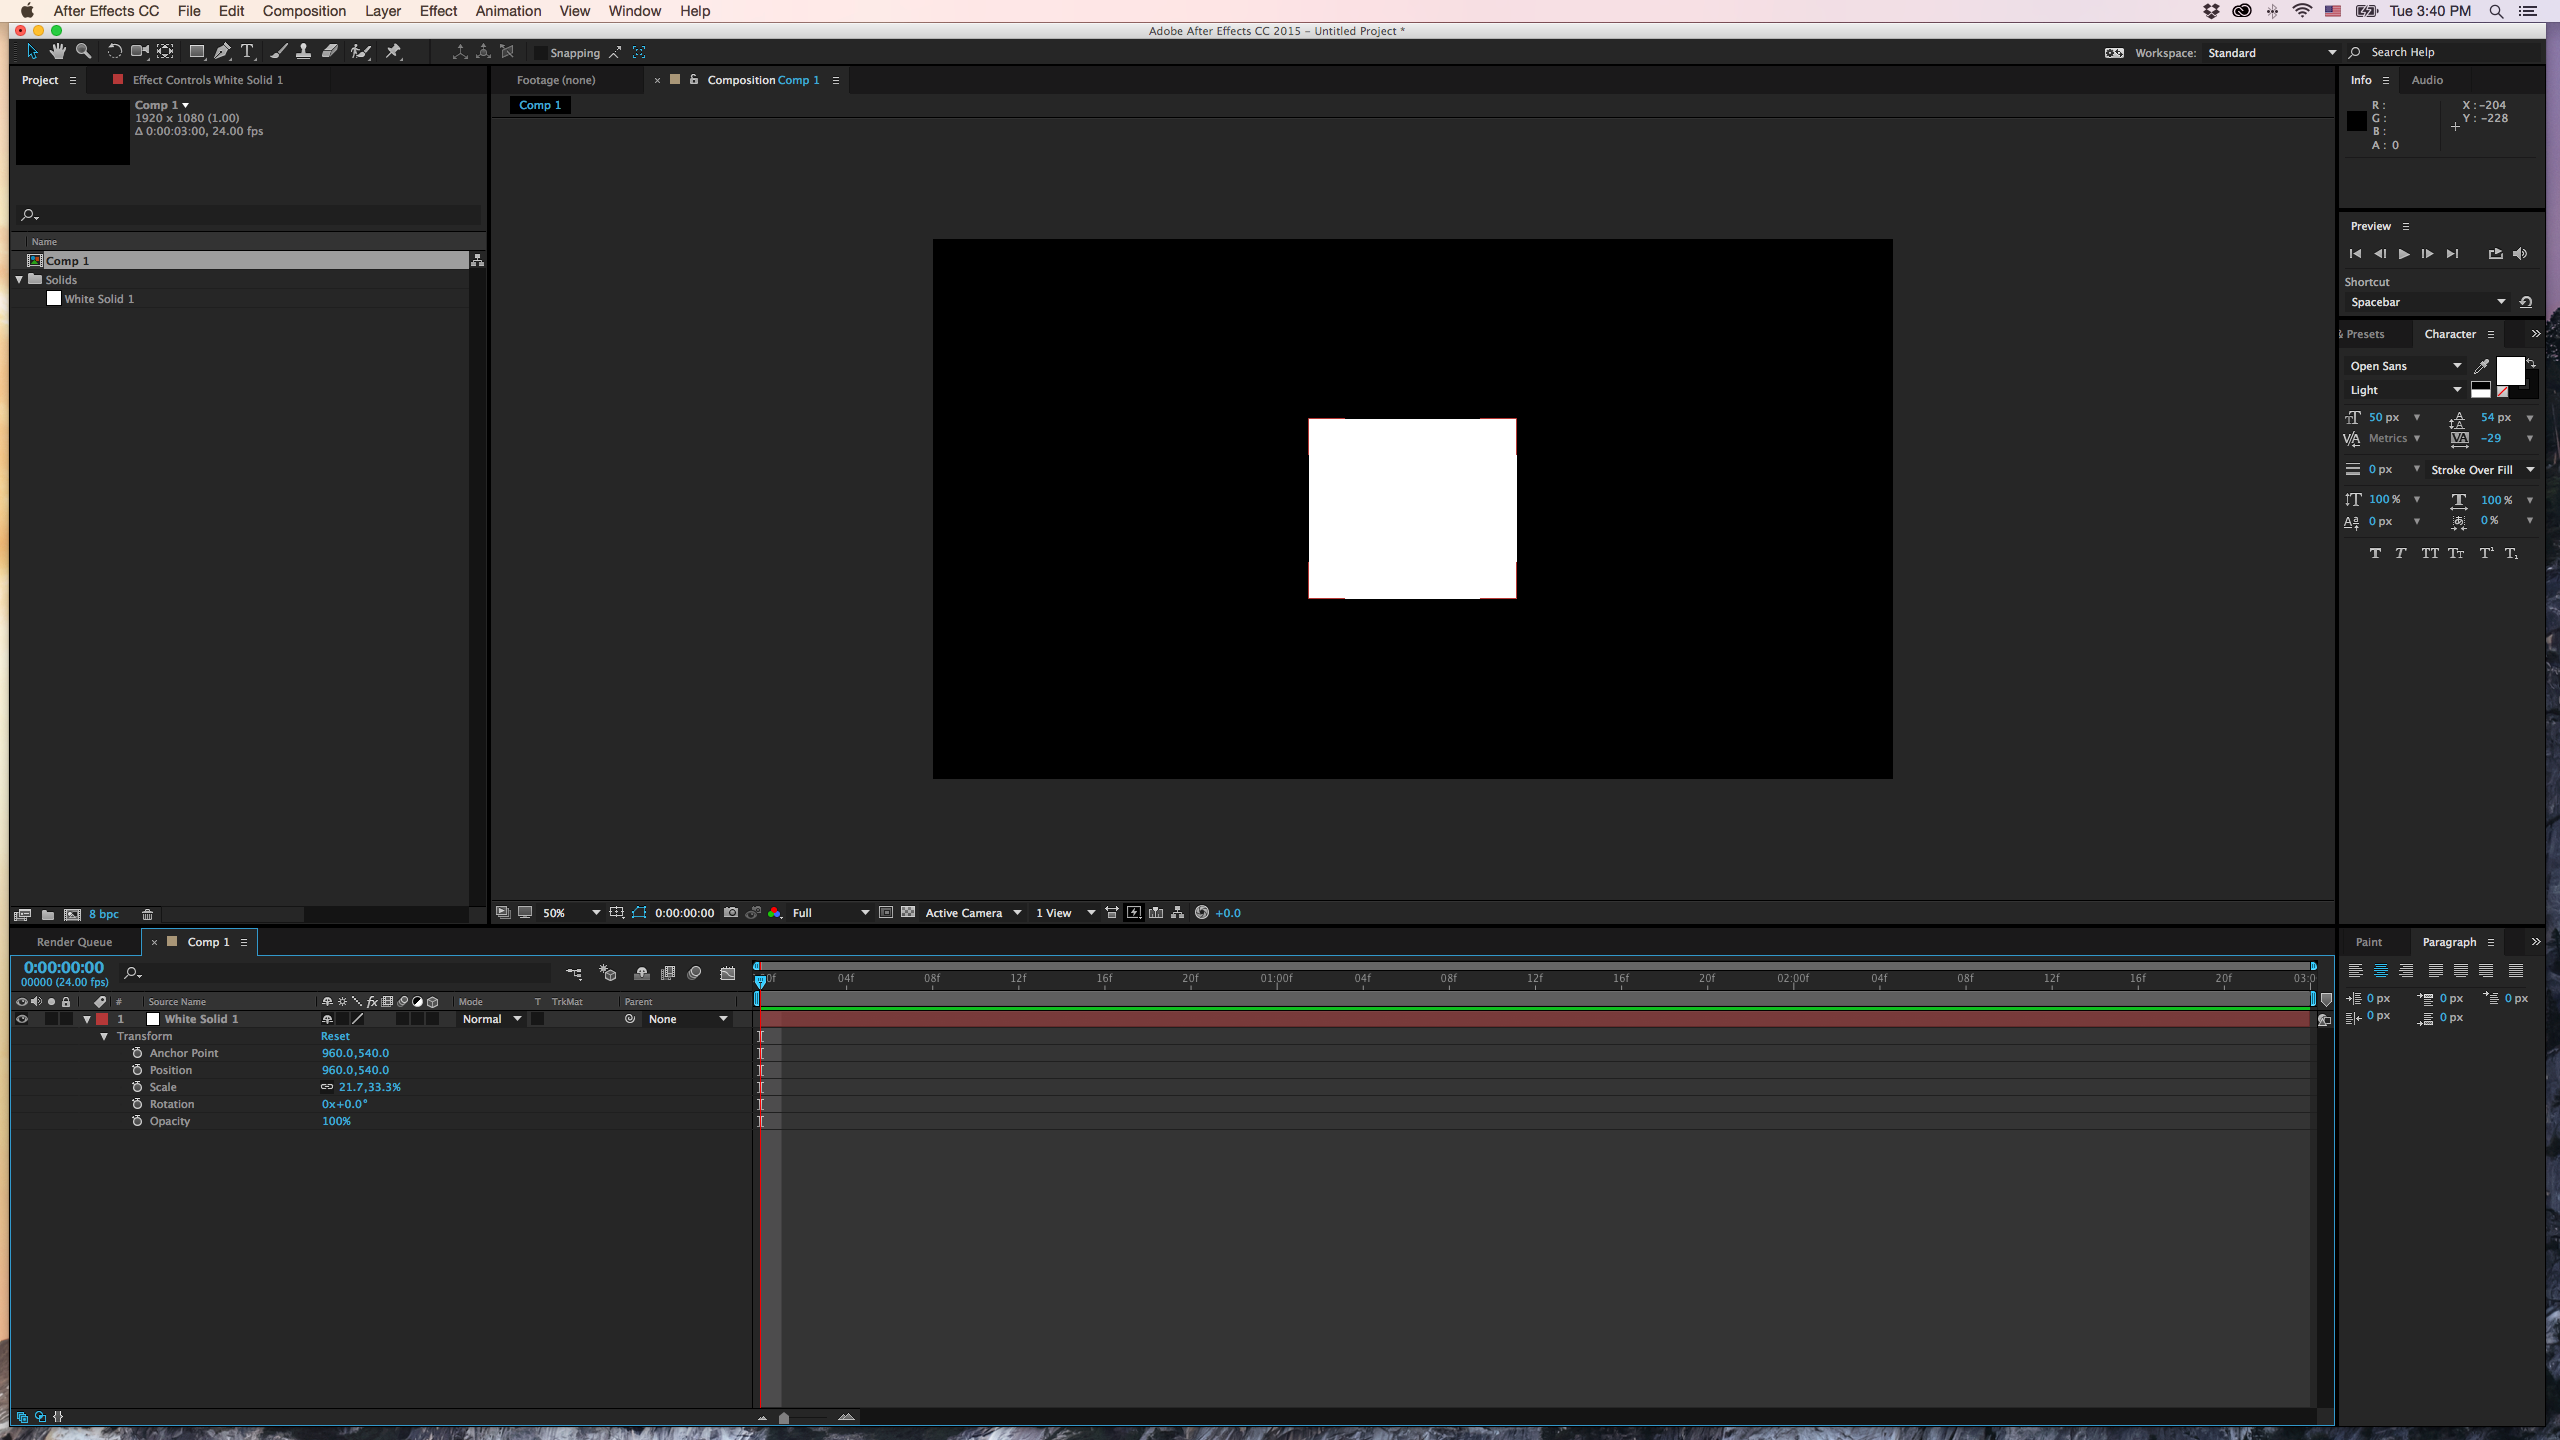
The next best thing to do once opening After Effects is to organize your workspace so that you can work as efficiently as possible. The After Effects workspace can be fully customized depending on your needs for a specific project. Optimizing your interface can help you maintain a consistent workflow without getting bogged down by multiple windows.
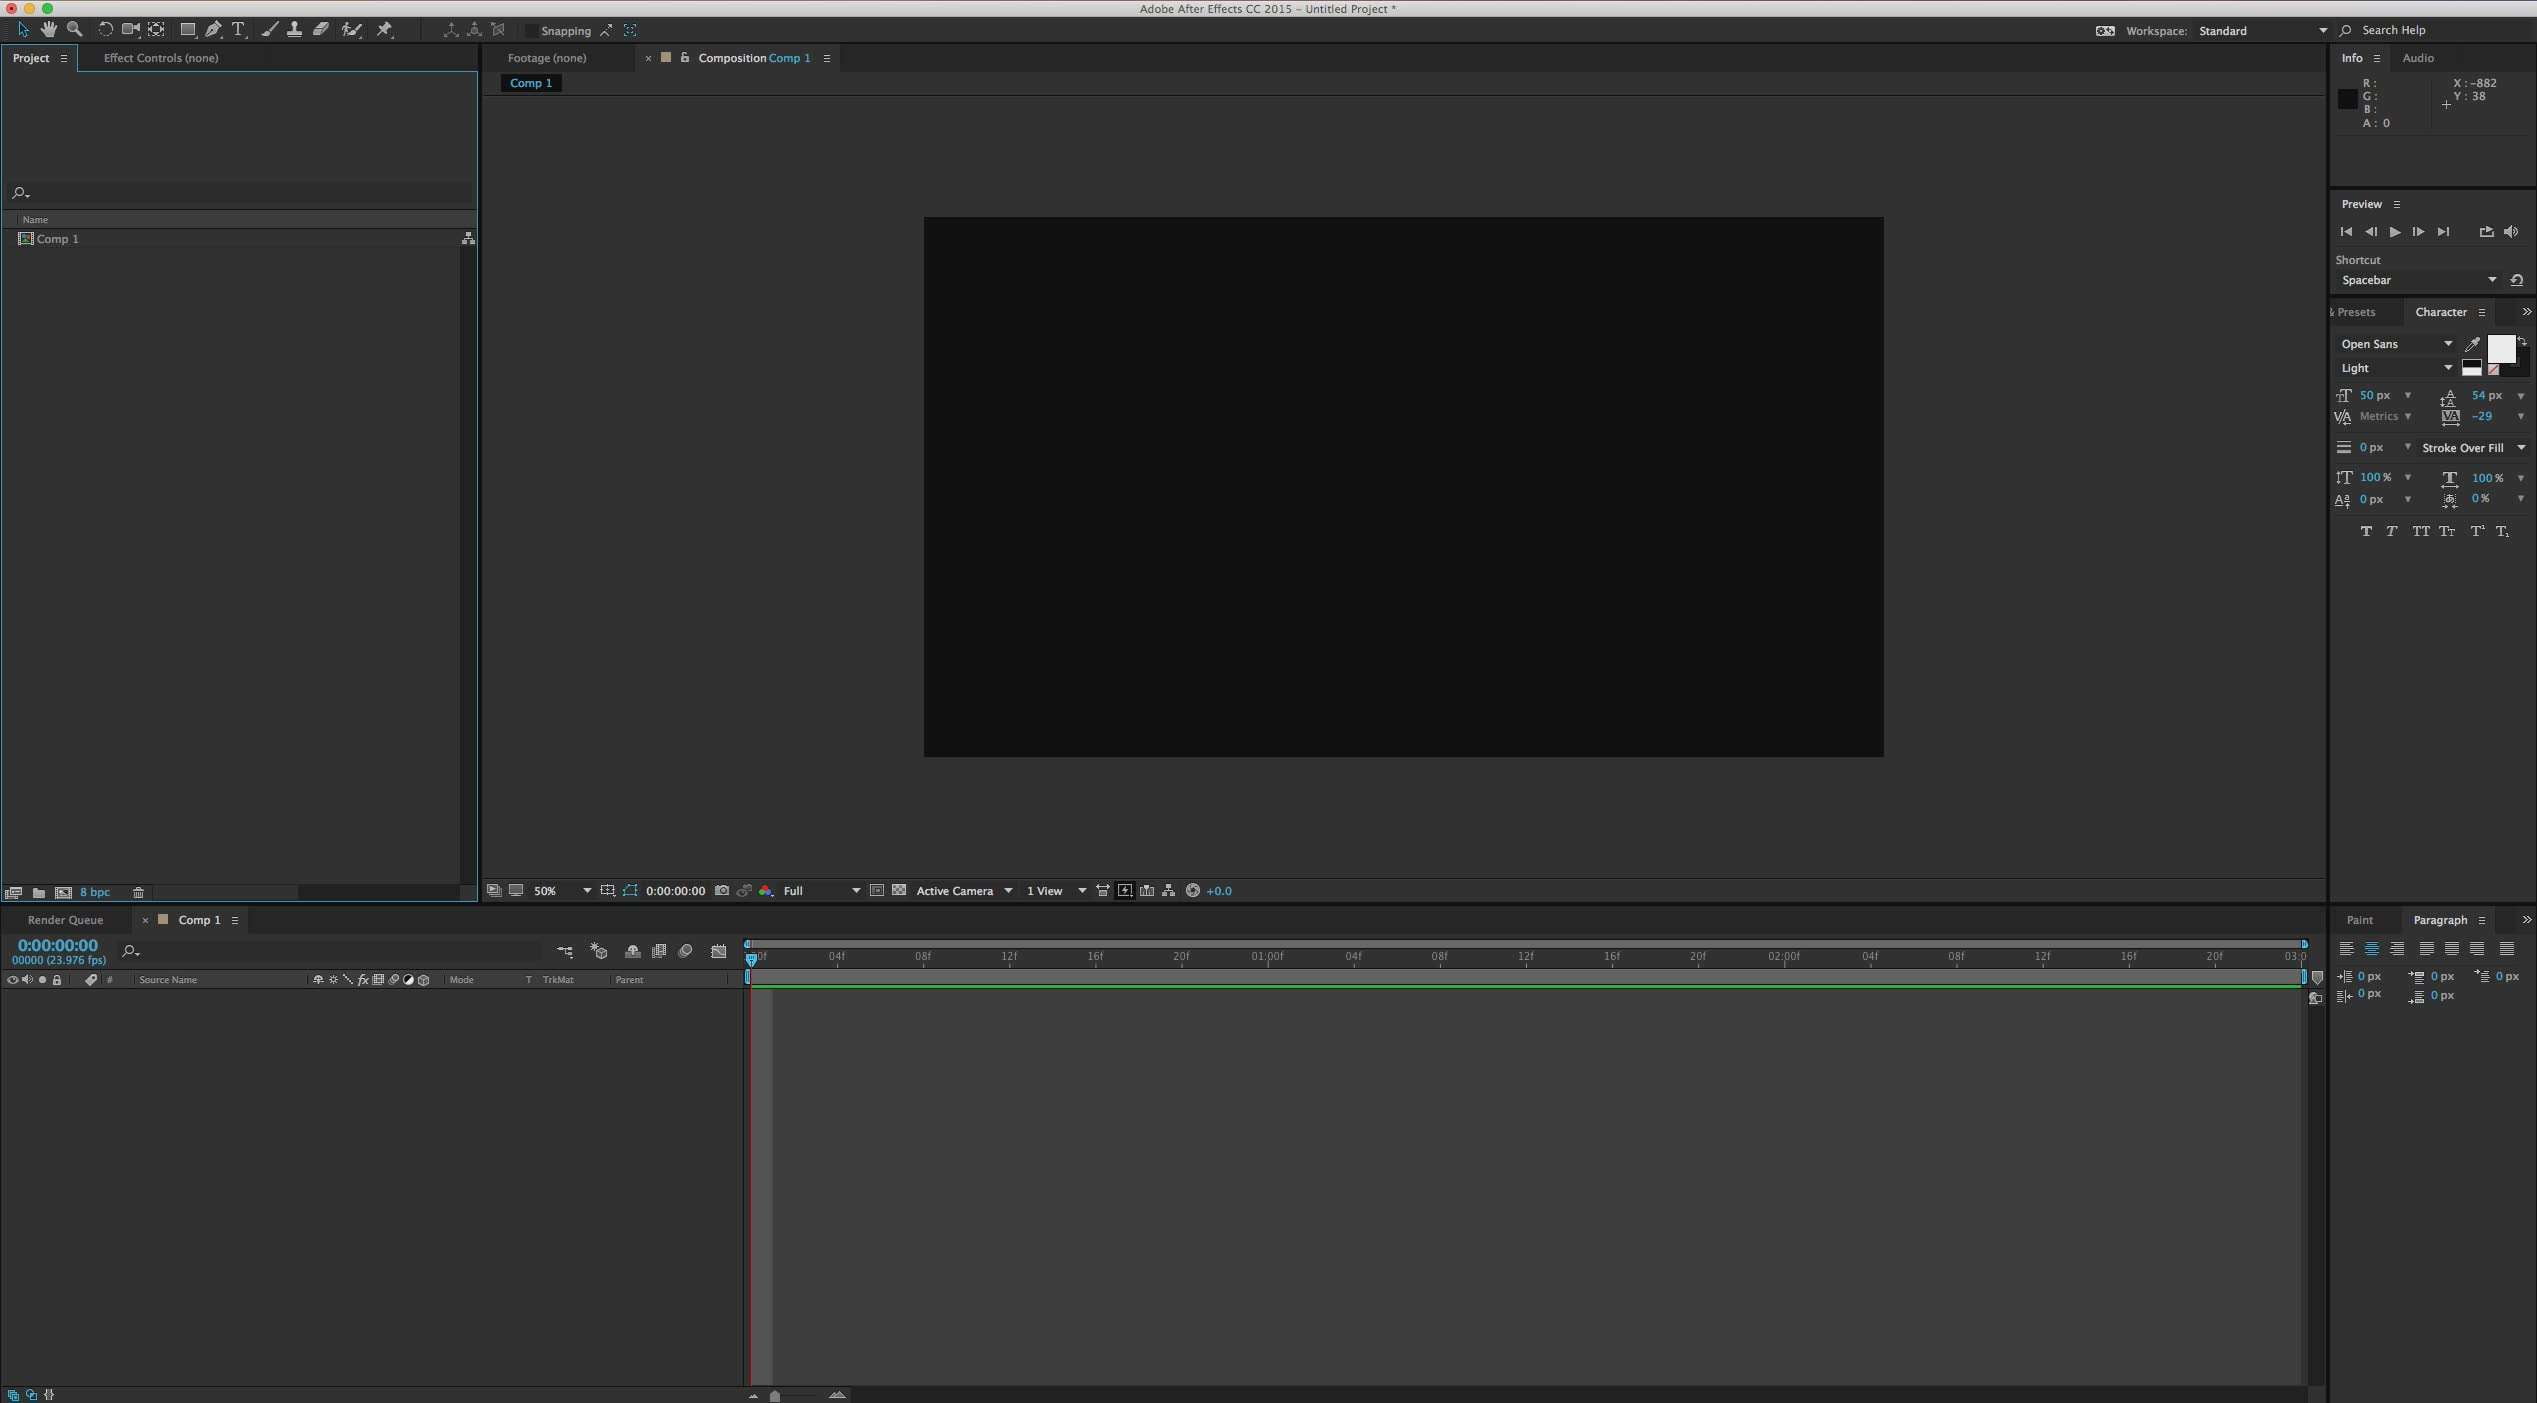
The default layout view includes your composition window (center box), your assets (upper left box), your timeline/layers (lower box), and effects/features (right box). Your main tools are located in the uppermost section to the left.

Navigating the interface
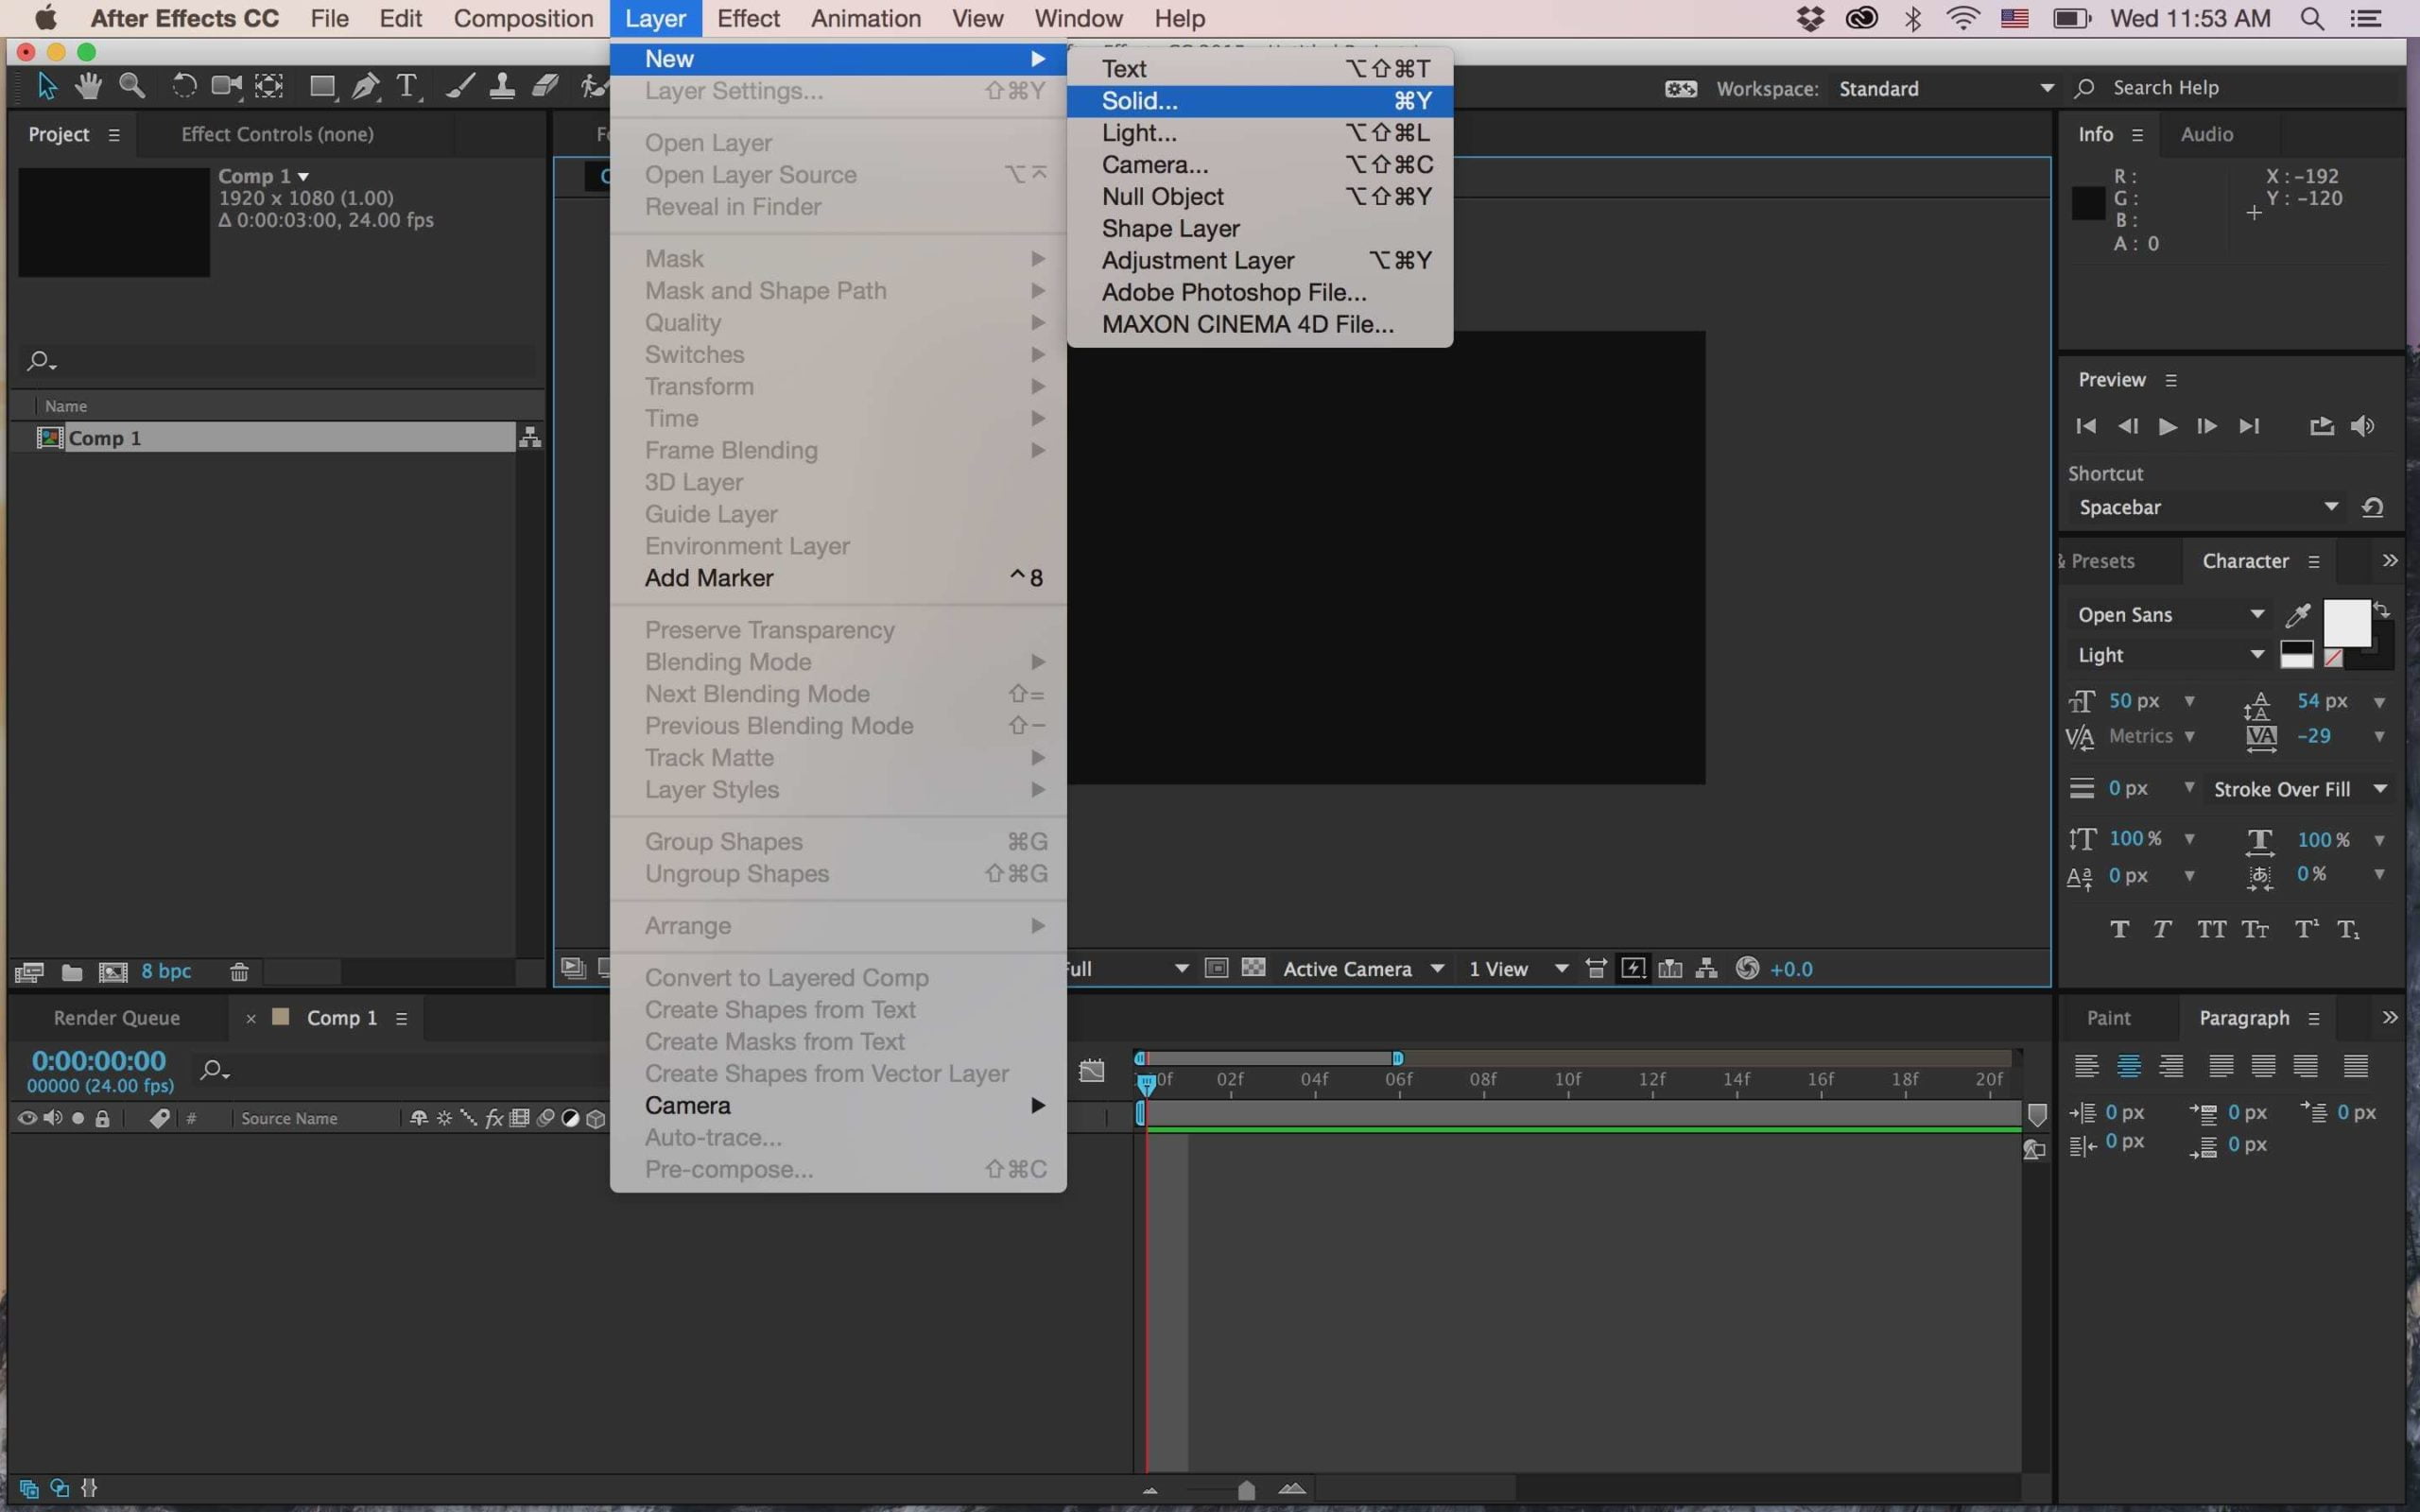
To create a solid shape, for example, click the “Layer” tab at the top of your workspace, select “New,” and then “Solid.” This will bring up a box asking you to select a color and size, go with white and “Comp Size.”
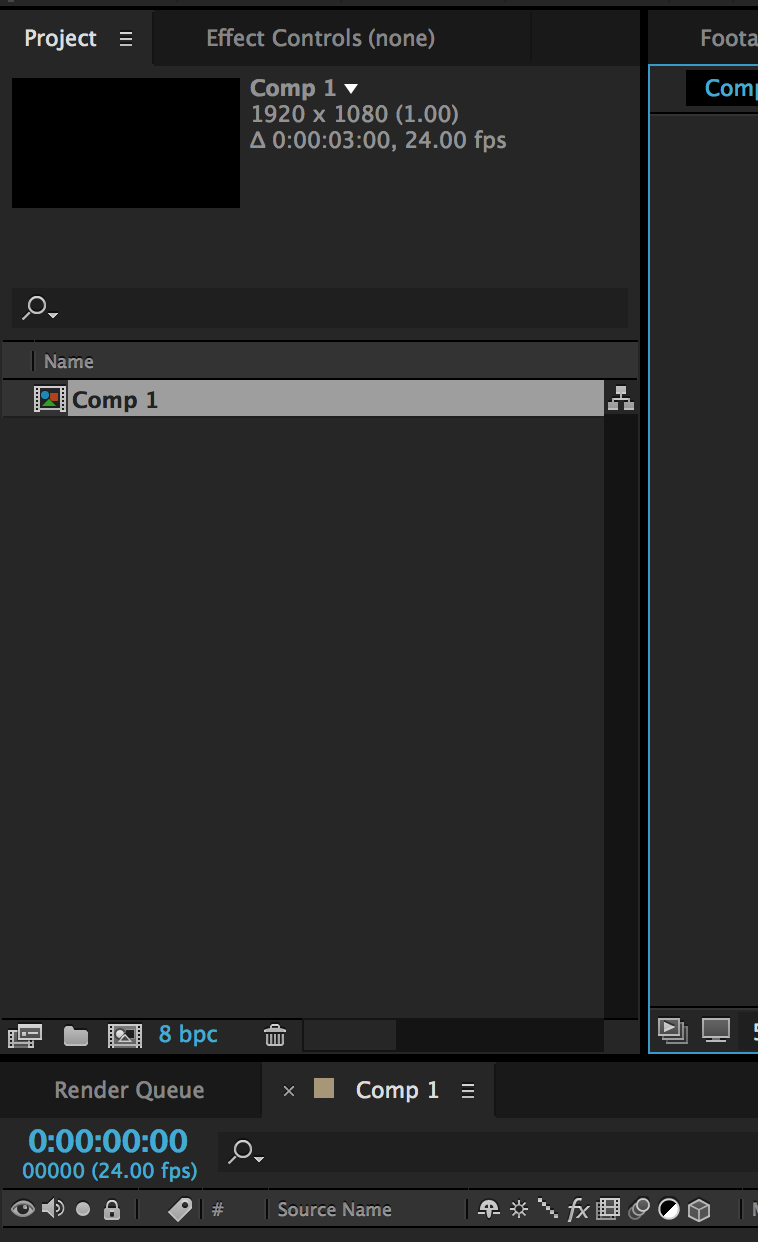
Now that a solid has been created in the composition (see below), you should see a new layer popping up in the timeline. You should also see an asset has shown up in the upper left area. Any time you add a file to your project, it will be listed in the “Project” tab. Adding any of those assets to your composition will then show up as layers in your timeline.
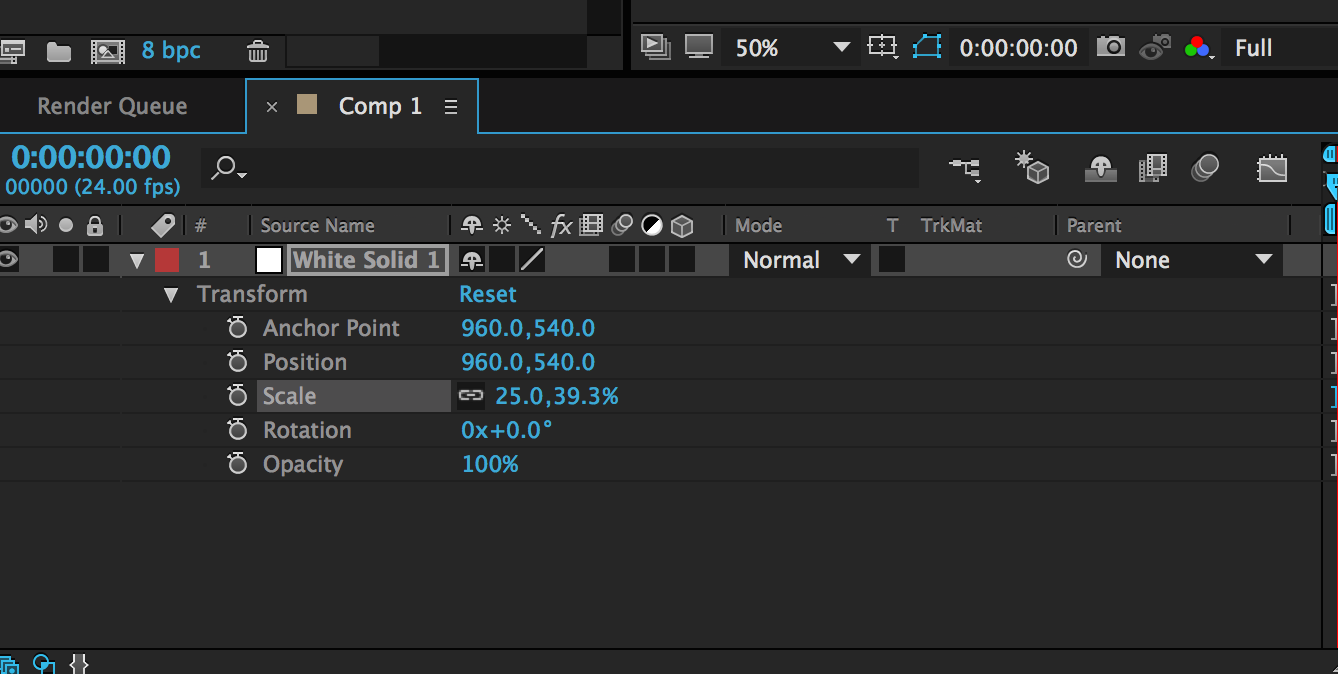
Transform Options
Each layer placed in the timeline has a dropdown arrow that opens up basic animation controls. These are your Transform options. Key frames can be set by clicking the stopwatch icons, and experimenting with the position, scale, rotation, and opacity values. There are millions of possibilities for motion using just these tools. Explore & make use of these tools, they are the best way to learn.
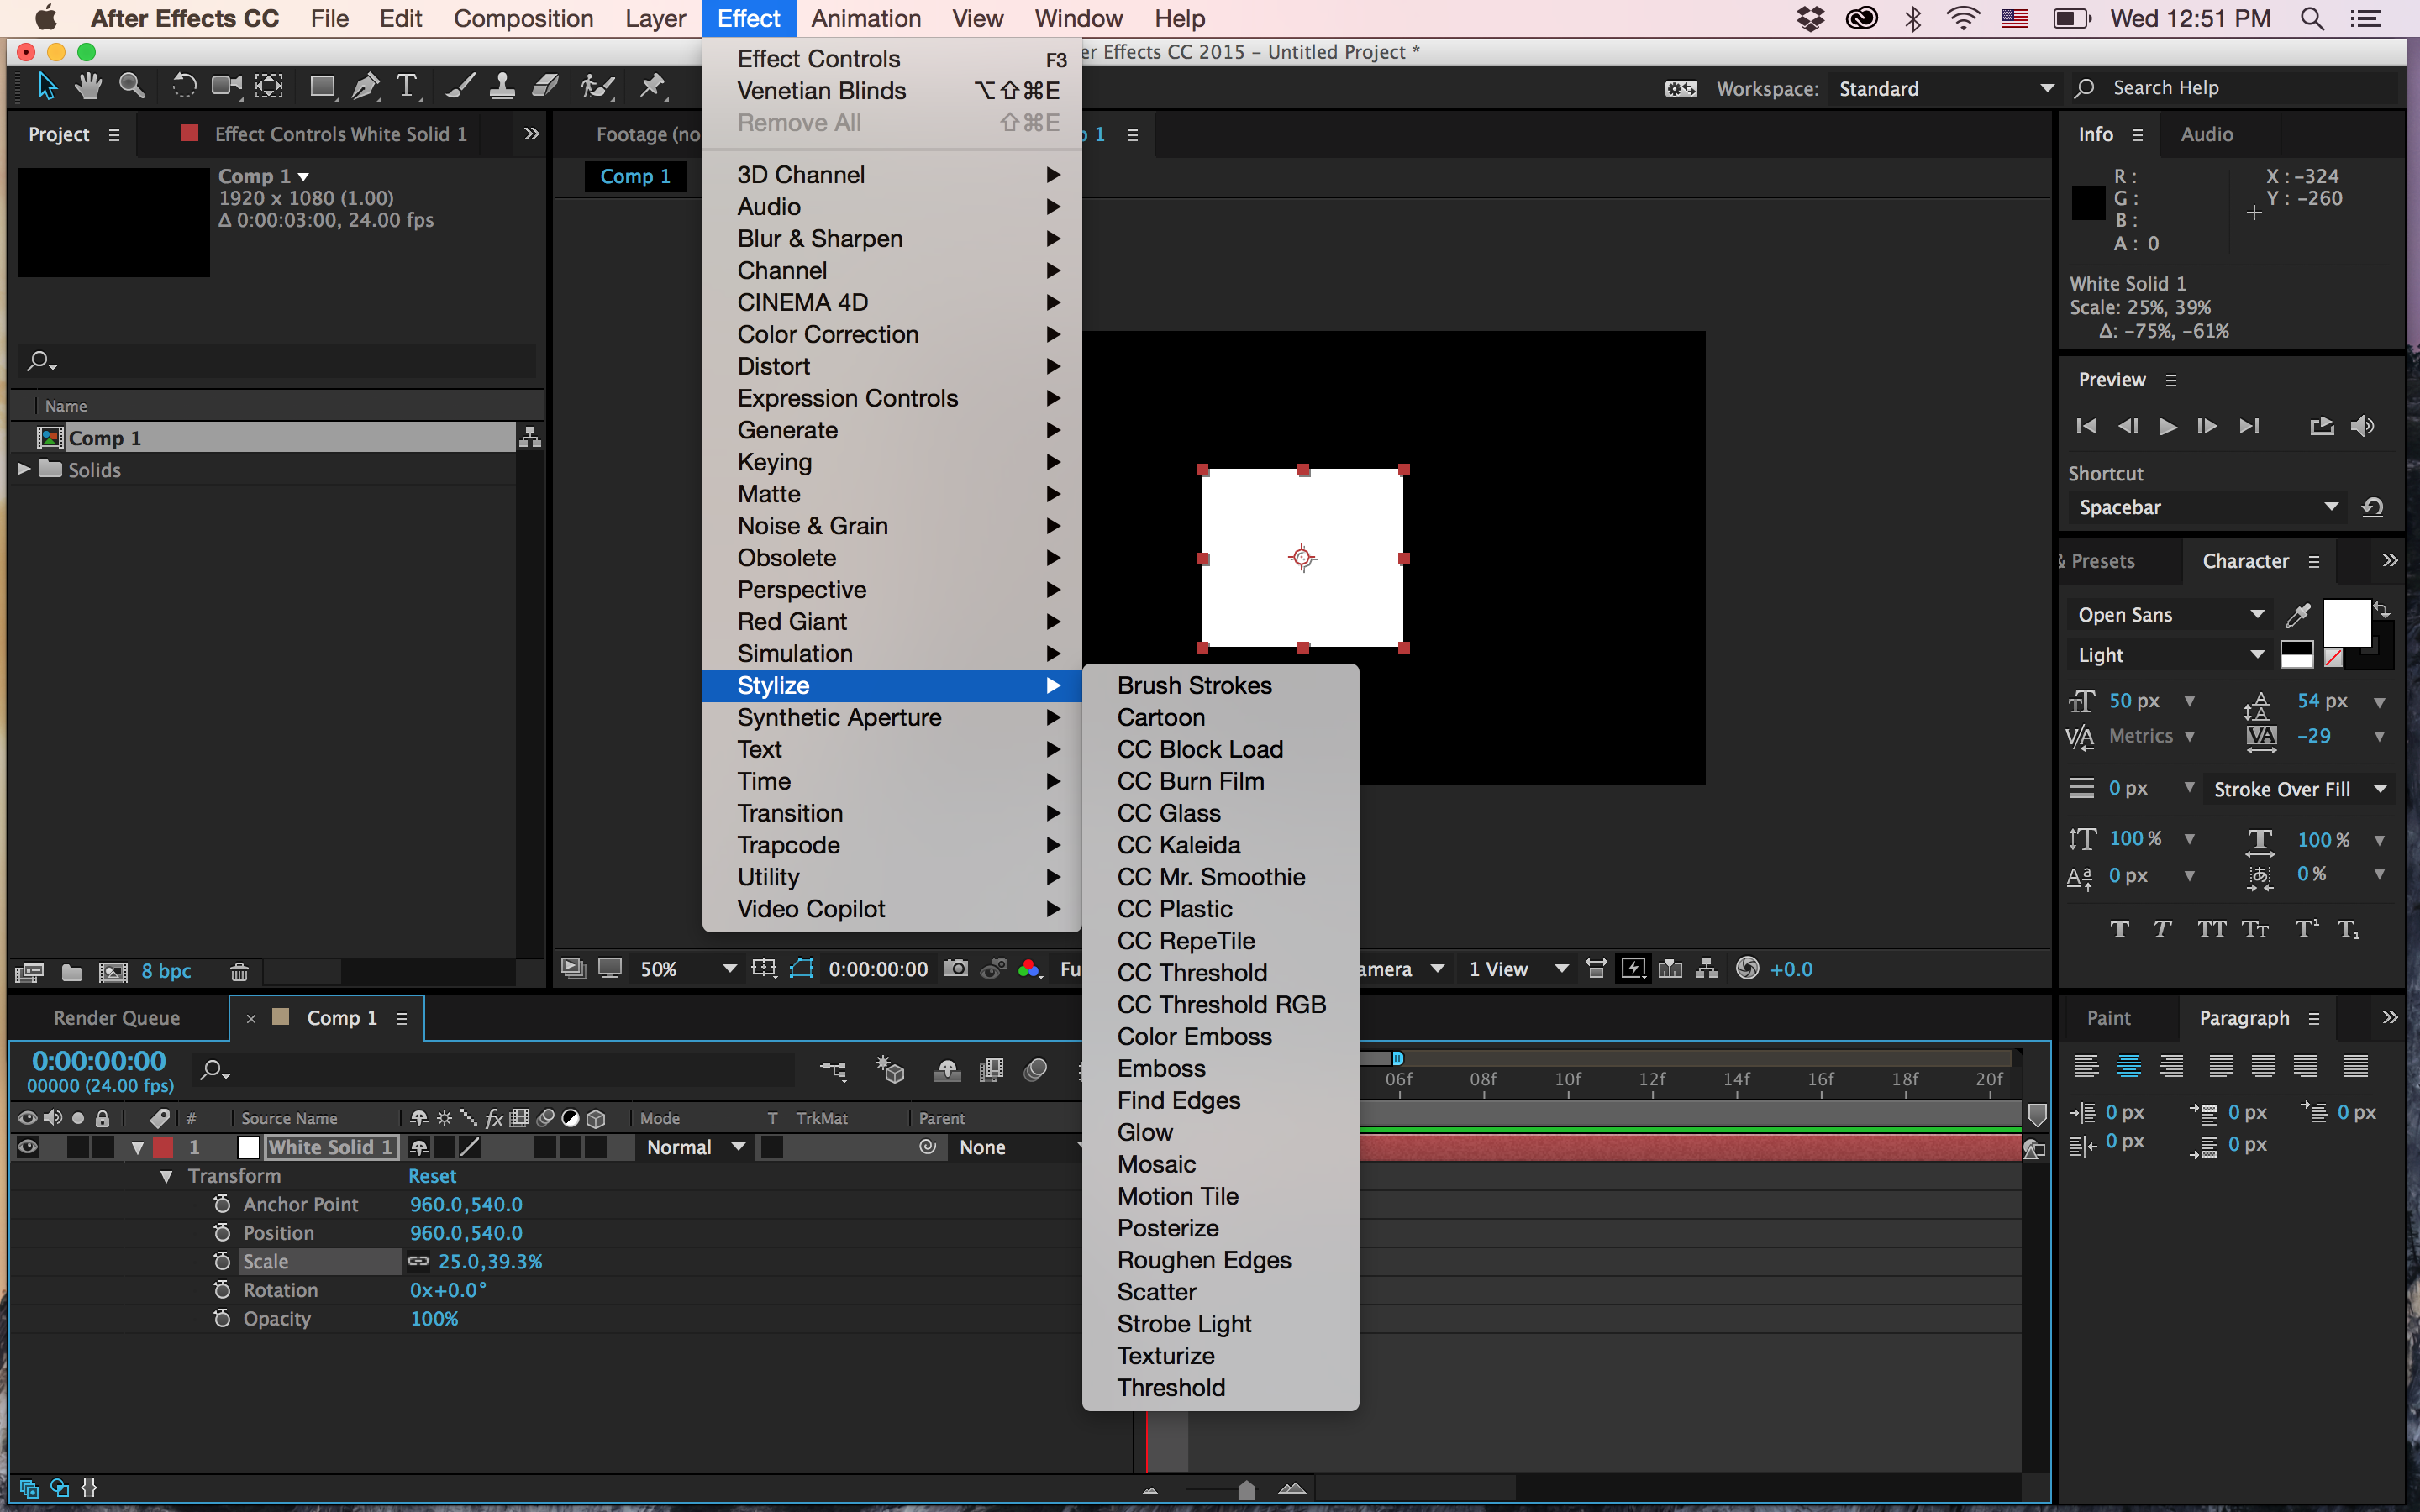
Effects & Presets
Located at the Top of the interface, the Effects tab allows you to select specific visual effects and animation presets to add to your layers and compositions. The options for creating beautiful visuals are endless once you start mixing and matching these effects with your assets. Some of these can be quite a heavy load on your system, so be aware that things like Particle World set to 10,000 particles every 1 second may cause your system to malfunction.
Resources & links:
https://www.premiumbeat.com/blog/2d-motion-graphics-after-effects/
Do you have questions about our recent news or upcoming events? Let us know.
Learn How